
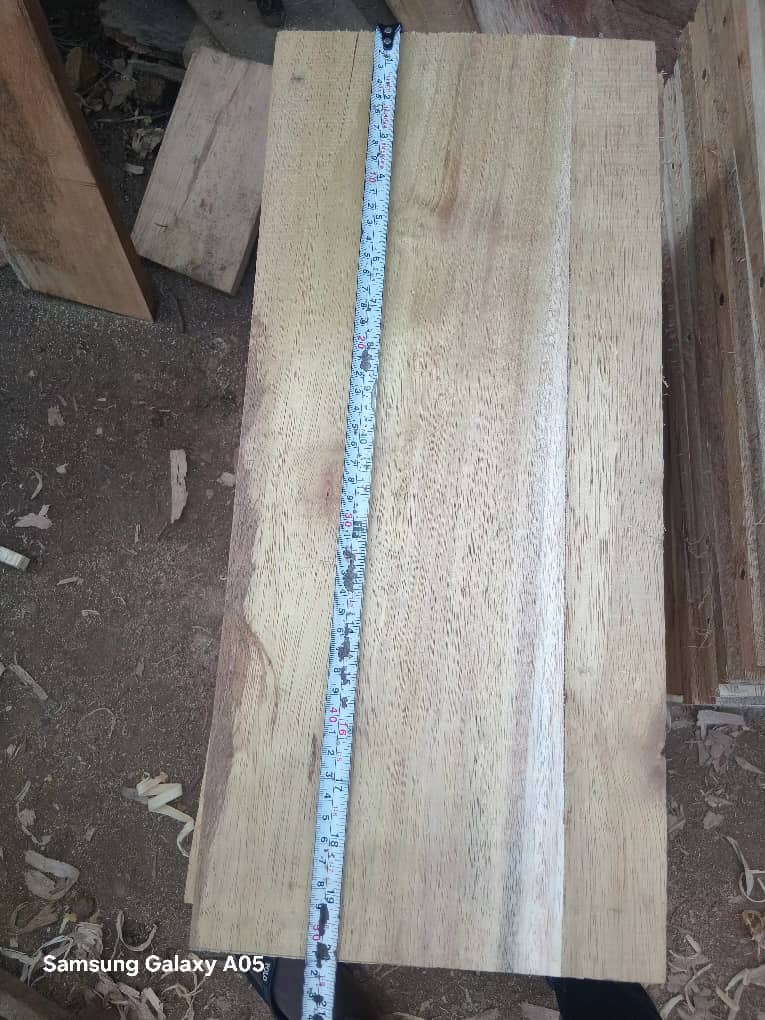
Step 2: Measuring and Cutting the Wood
This is the next step after completing step one. In this phase, we will focus specifically on the process of measuring and cutting wood, starting with the necessary tools followed by the specific steps for cutting.
1. Measuring Tools
These tools are essential to ensure the beehive has accurate dimensions:
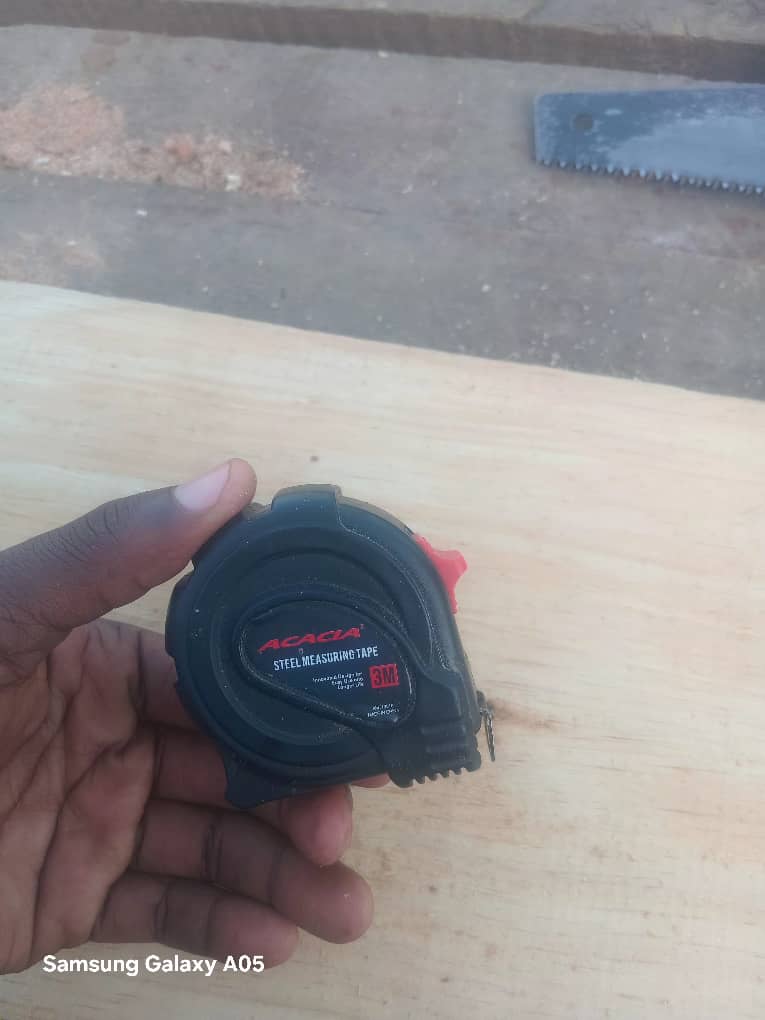
- Tape Measure: Used to measure the length of the timber and the main dimensions of the box, including the bottom cover, top cover, and frames.
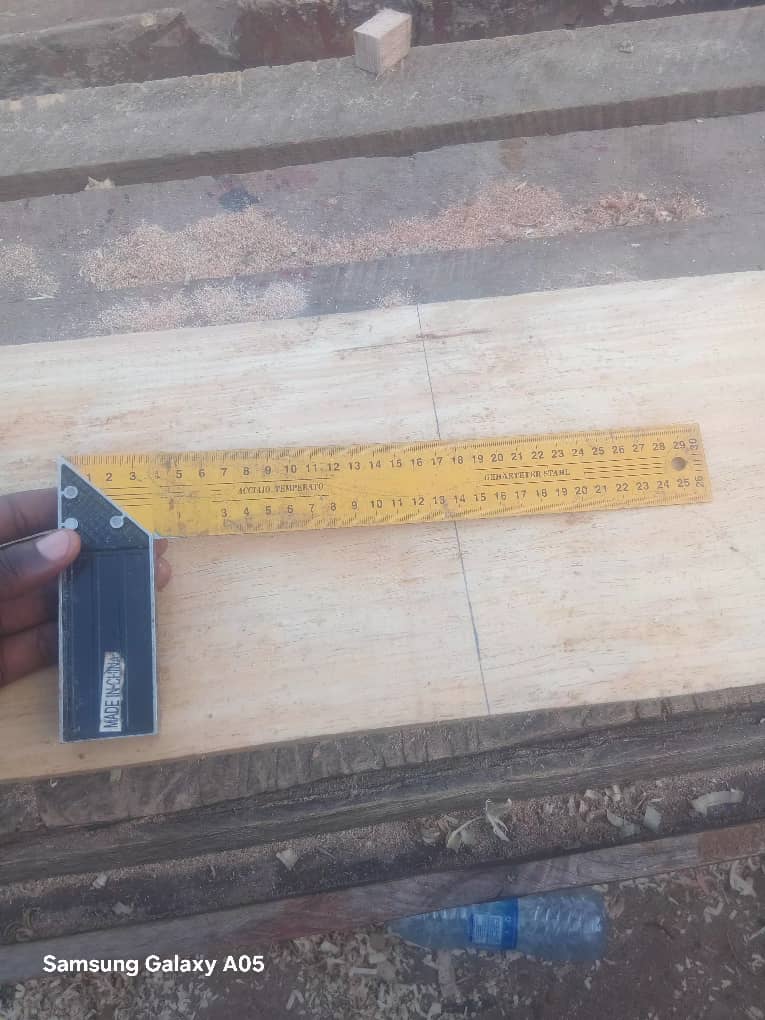
- Try Square: Used to measure and ensure angles are square (90 degrees) during cutting and assembly.
- Spirit Level: Used to check the levelness of the wood or the box to ensure it doesn’t lean to one side.

- Meter Ruler: Used for small measurements, checking wood thickness, or alignment.

- Caliper: Used to measure wood thickness with high precision, especially for parts requiring exact thickness.

2. Wood Cutting Tools
After measuring, these tools are used to cut the wood according to the requirements:
- Hand Saw: Used for manual cutting if you do not have power tools.

- Circular Saw: Used for speed and accuracy when cutting long, straight lines.

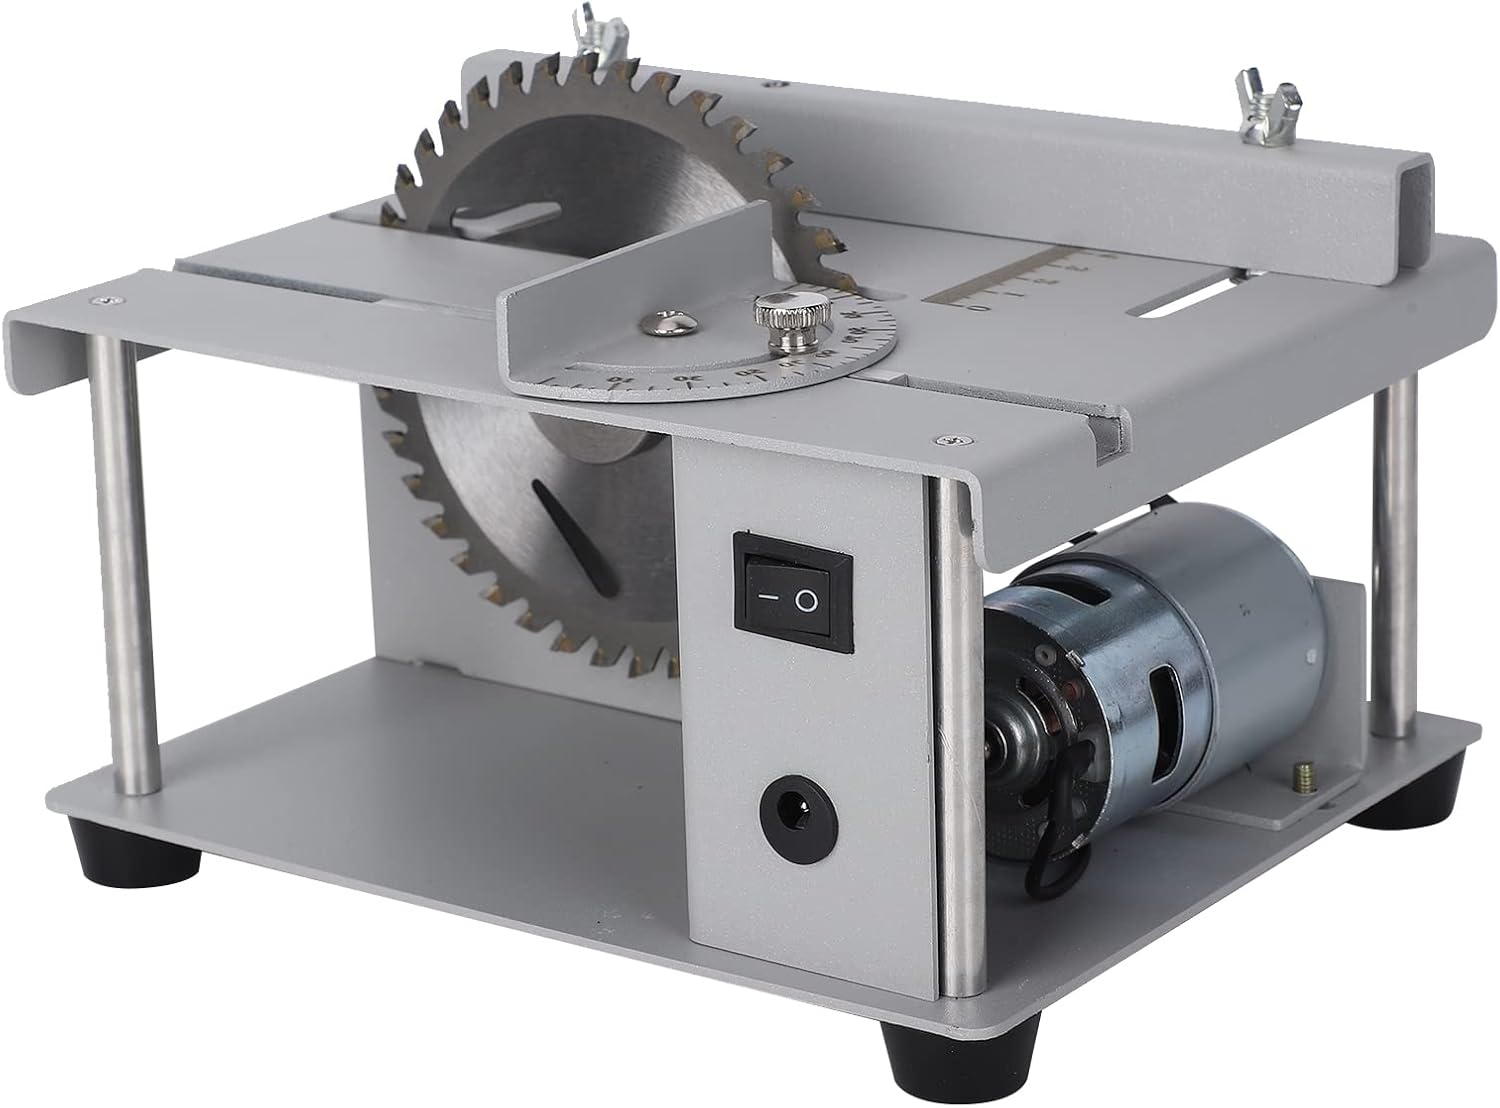
- Table Saw: Used to easily cut multiple identical pieces in bulk.
- Jigsaw: Used for cutting decorative shapes (curves), holes, and tight spots.

3. Carving and Smoothing Tools
To achieve a good appearance and a level surface, these tools are used:
- Chisel: Used for carving small sections and creating grooves or tracks for the frames.

- Hand Plane: Used to level the wood surface and slightly reduce thickness.

- Rasp Files: Used for finishing edges and smoothing corners and rounded sections.

4. Assembly and Finishing Tools
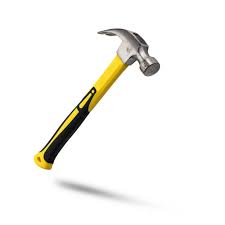
- Hammer: Used to drive nails during the assembly of the pieces.
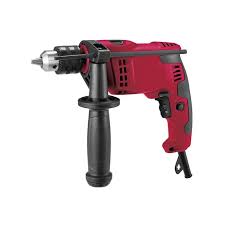
- Drill: Used to bore holes for screws, ventilation, or bee entrances.
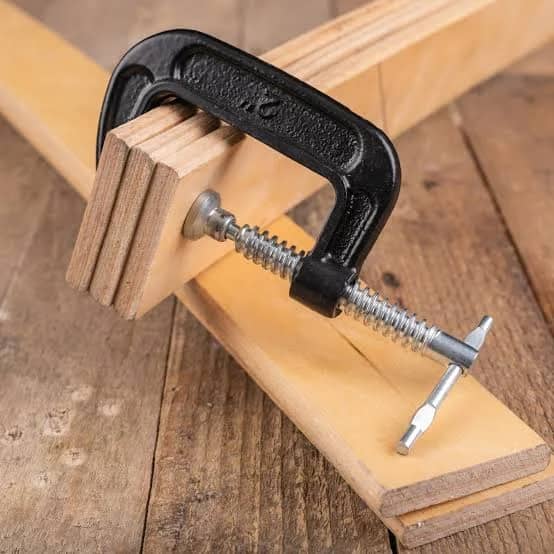
- Clamps: Used to hold the wood firmly in place while it is being joined.
- Sandpaper: Used to rub the wood to achieve a smooth surface and remove sharpness.

- Scraper: Used to remove knots and rough spots before using sandpaper.

The Measuring and Cutting Process: Langstroth Hive Brood Box
After preparing the tools, we move into the practical step of measuring and cutting wood for the Langstroth Hive Brood Box.
Main Brood Box Dimensions:
- Length: 51 cm
- Width: 43.2 cm
- Depth: 24.2 cm (or 24.5 cm depending on wood requirements)
Part A: Side Parts (Long Sides)

Use timber of size 1″ x 10″ x 12′.
- Measuring Length: Place the wood on the table, use a tape measure to measure 51 cm.
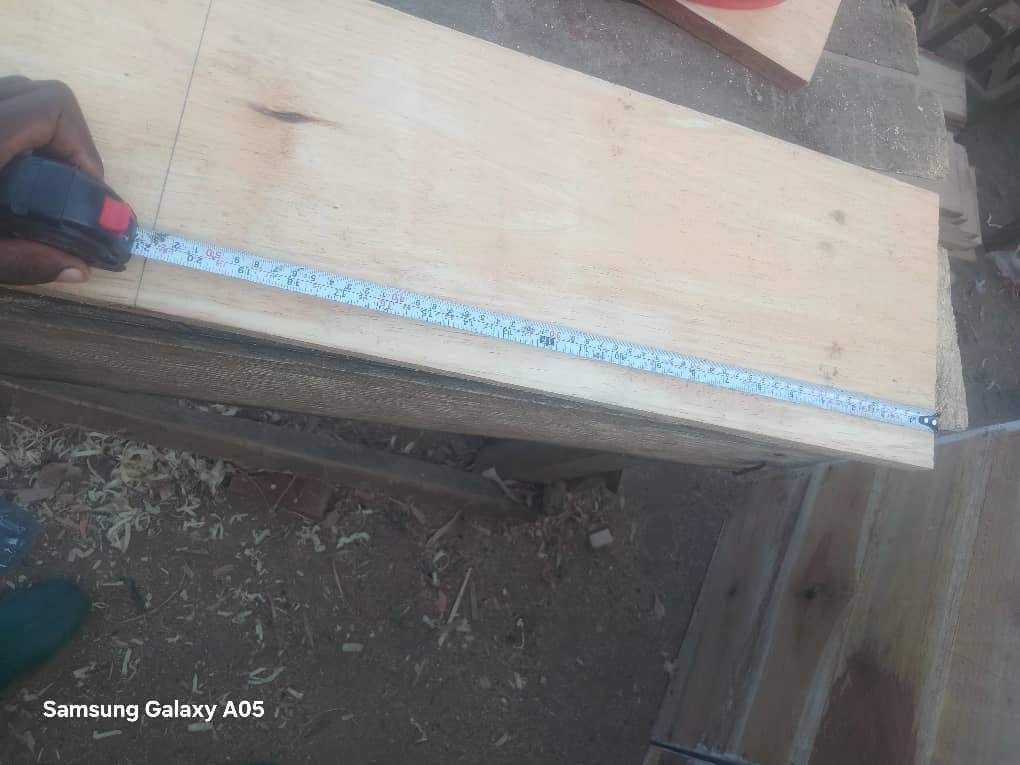
Mark it with a pencil and use a try square to draw a 90-degree line.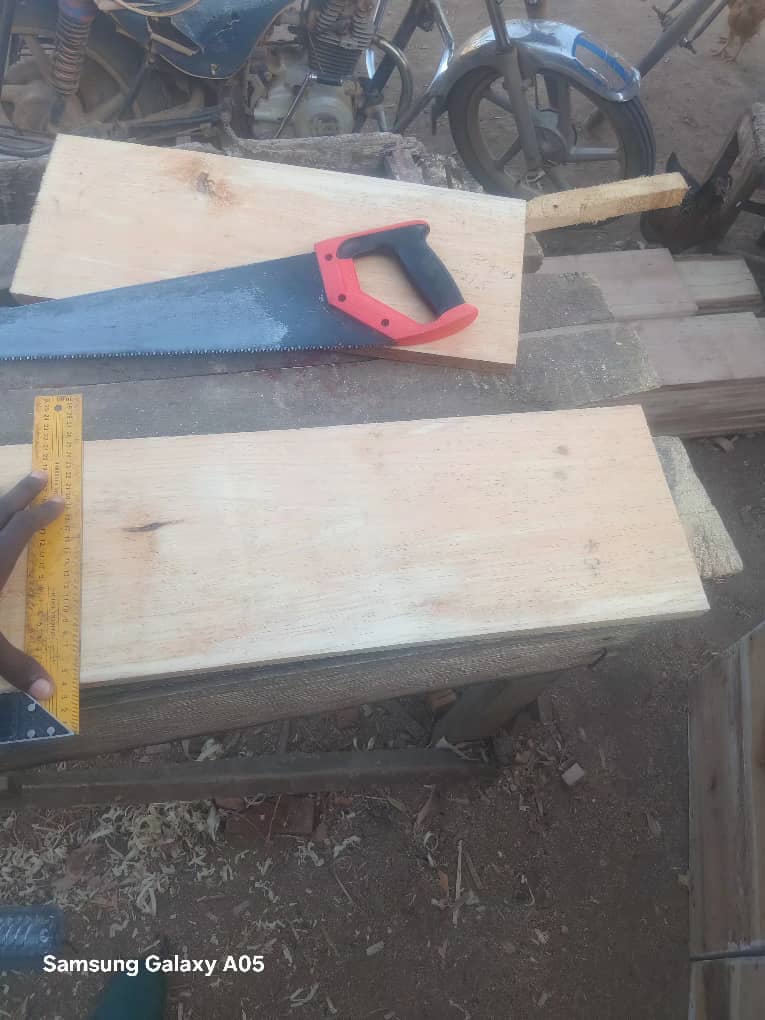

- Cutting: Use a circular saw or hand saw to cut two pieces.
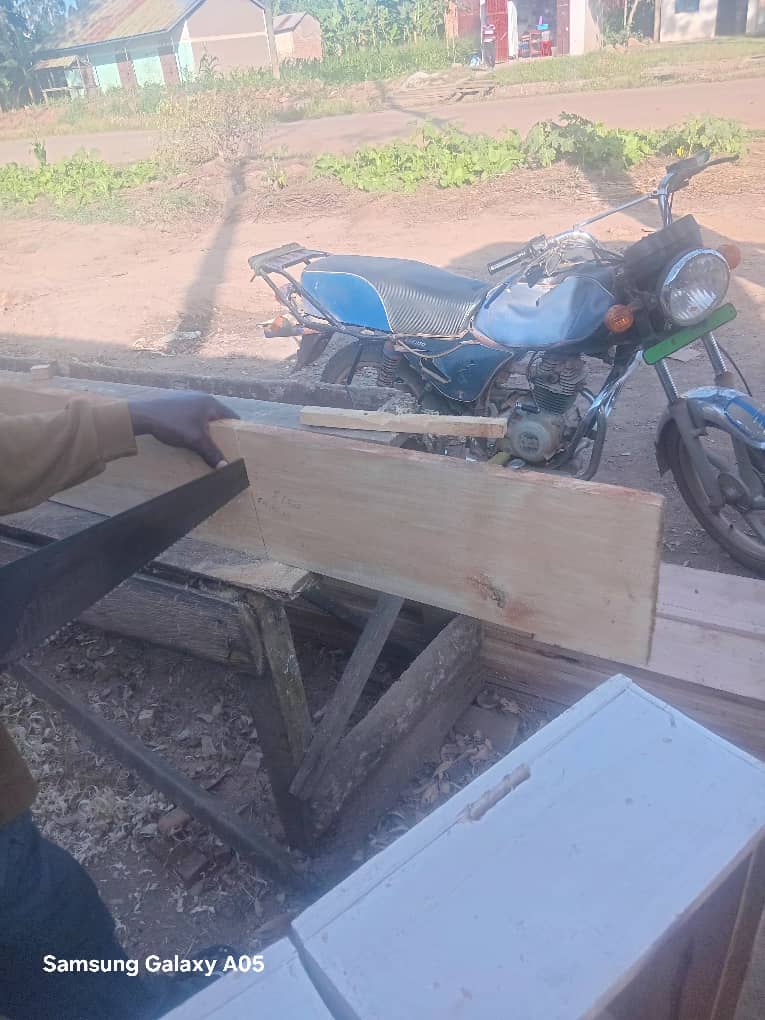

- Cleaning: Use a plane to smooth the edges or sandpaper to soften the corners.

- Creating the Rebate: Create a rebate with a depth of 1.5 cm and a width of 2.5 cm using a machine on both 51 cm pieces.

Part B: Front & Back Parts (Short Sides)
- Dimensions: The length is 43.2 cm and the depth is 24.5 cm. You need two pieces.
- Measuring and Cutting: As done previously, measure 43.2 cm with the tape measure, use the try square to ensure the line is at 90 degrees, then cut the two required pieces.